Storey is one of BuildingComponent classes. BuildingComponents (Rooms, Storeys, Facades, RoofInner etc) make up a Building.
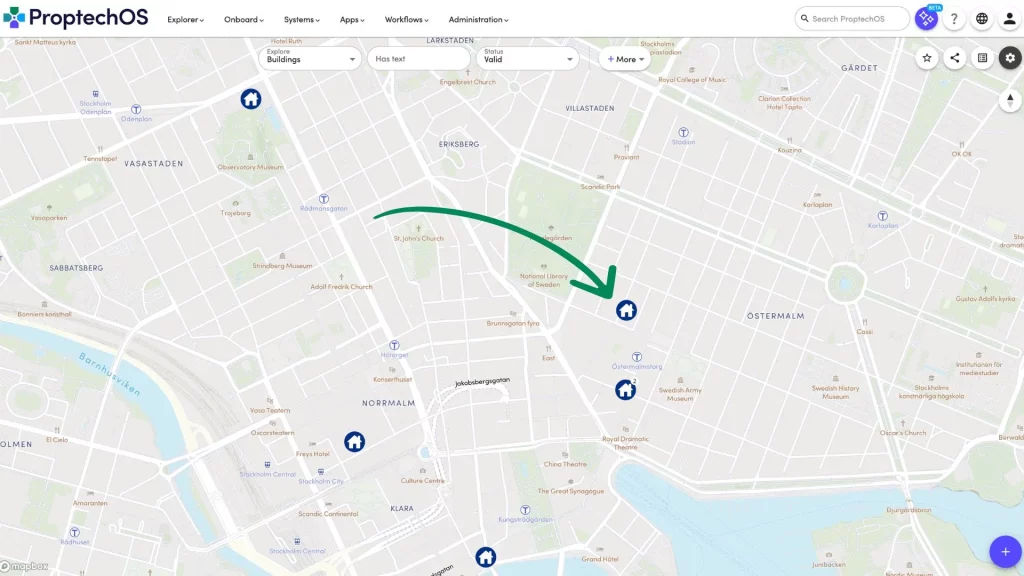
1. To create a Storey, first select the Building on the map where you want to add it.
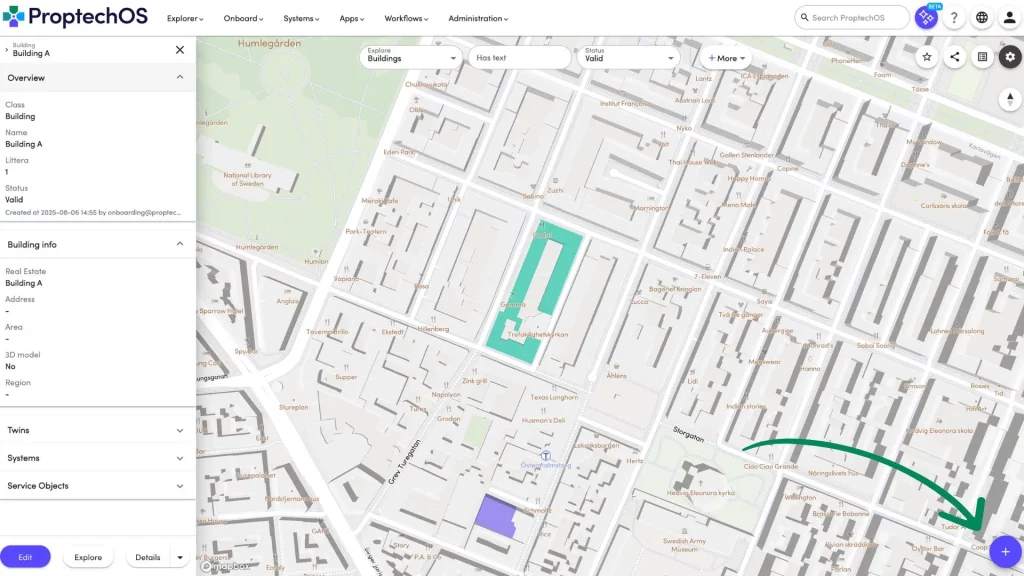
2. Once you have selected the Building, click the plus sign to create a Storey. This same button can also be used to create other twins, such as a Building, Room, Device, or Sensor. However, since we have already selected a Building, the default is to create a Storey.
3. Next, you’ll need to provide a popular name for the new Storey. It is common to use number-based names like “Storey 1”, “Level 0”, or “Storey -6” for a sub-level. The number should correspond to what would be found on an elevator button, or what people would say, for example, “Let’s meet on the 6th floor.”
The previously selected Building will be pre-selected for you, but you can change it if necessary.
You’ll also need to fill in the coordinates for the Storey. The common format for local coordinates is 0 for latitude and longitude, but specified altitude which indicates the height of the Storey. Global coordinates are inherited from the building. We’ve pre-selected the coordinates for you, but feel free to adjust them as needed.
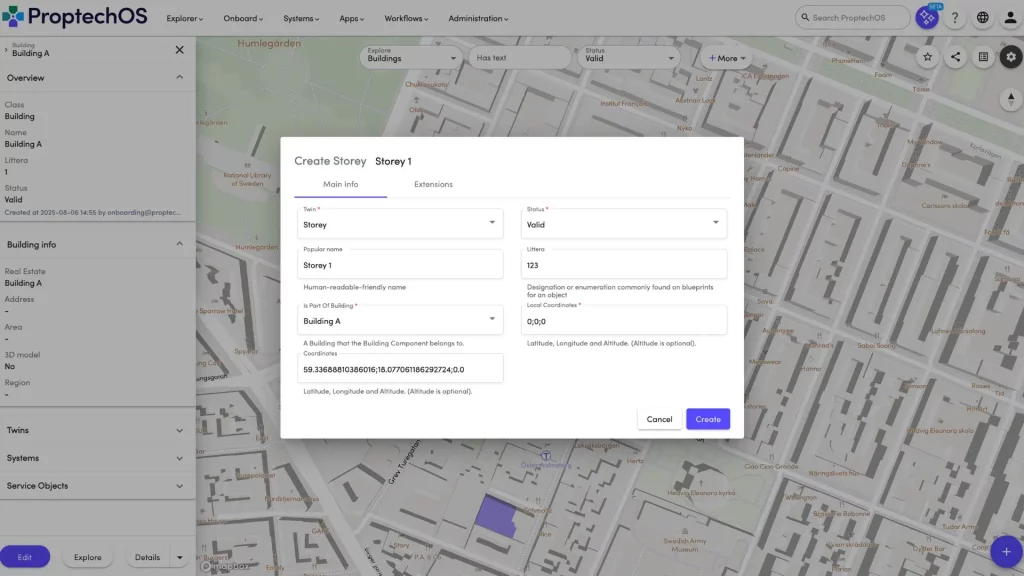
4. Once you have completed these steps, simply click the “Create” button, and your new Storey will be created!